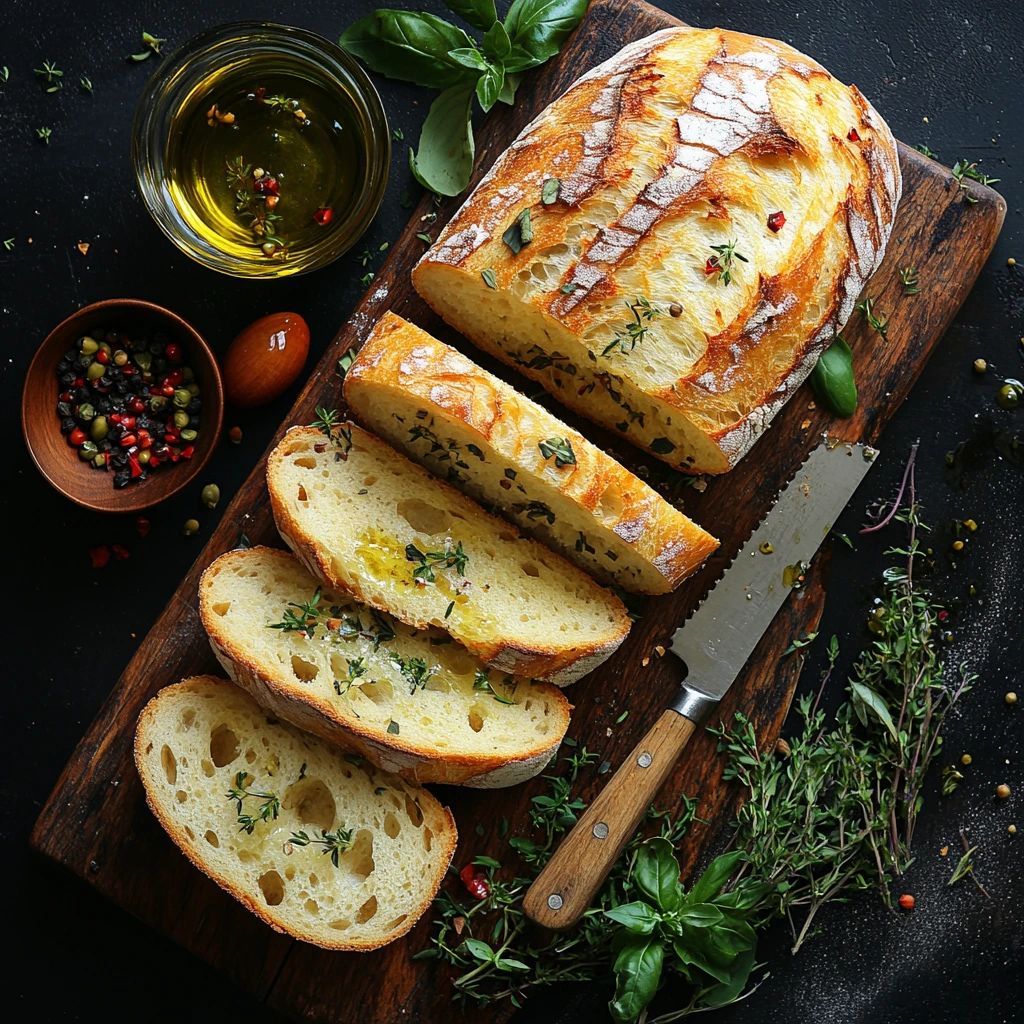
Recreate Subway’s iconic Artisan Italian bread at home with this simple yet flavorful recipe. Perfectly soft on the inside with a golden, slightly crisp crust, this bread complements a variety of sandwich fillings. Its subtle sweetness and light texture make it a favorite choice for everything from hearty meatball subs to fresh veggie sandwiches. Whether you’re a bread-making enthusiast or a beginner, this recipe is straightforward and yields bakery-quality results.
Why You’ll Love This Recipe
1. Perfect for Any Sandwich
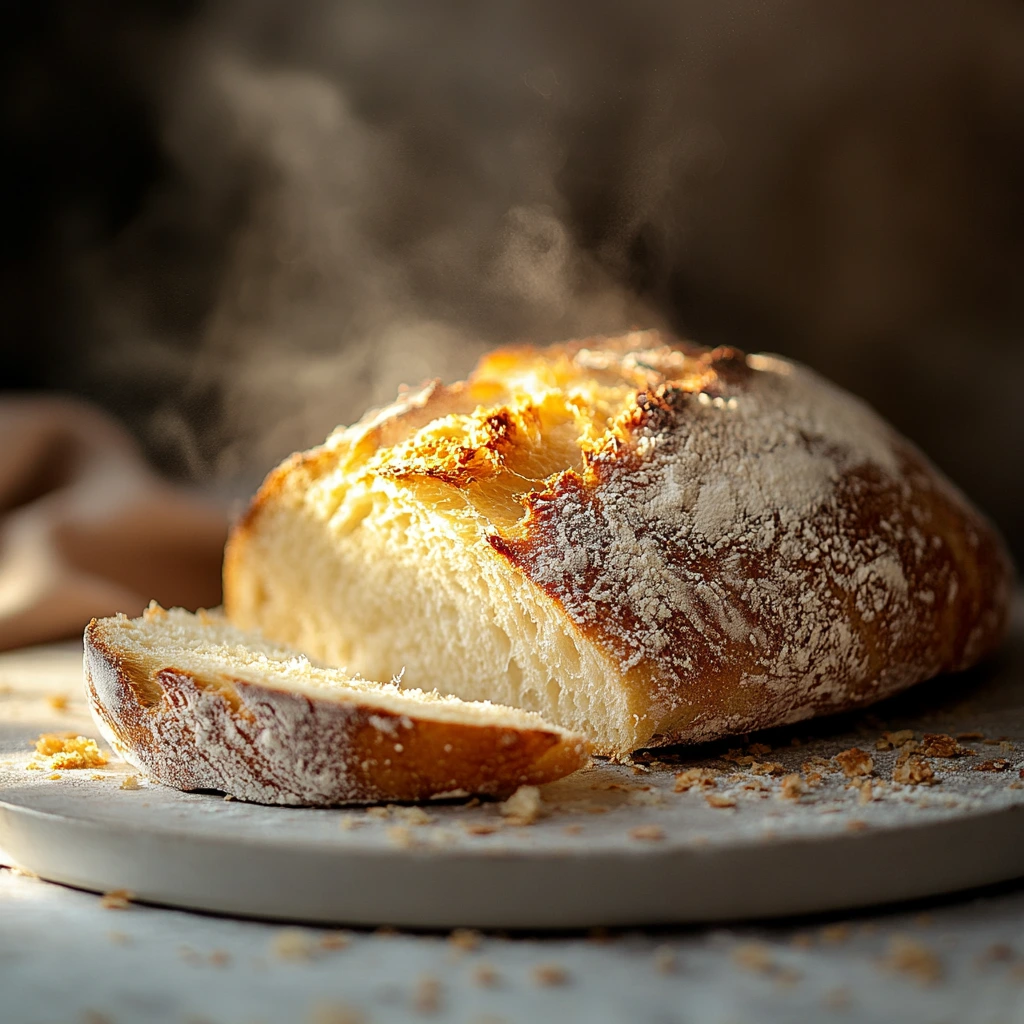
This bread is designed to mimic Subway’s signature Artisan Italian bread, which is known for its light and airy texture. Whether you’re crafting a hearty meatball sub, a classic BLT, or a veggie-packed delight, this bread provides the ideal foundation. Its subtle sweetness and soft crumb enhance the flavors of any filling without overpowering them.
2. Easy to Make
You don’t need to be a professional baker to achieve great results. This recipe is beginner-friendly, with straightforward instructions and minimal equipment required. The dough is easy to work with, and the step-by-step directions ensure success even if it’s your first time making bread.
3. A Healthier Alternative to Store-Bought
Homemade bread allows you to control the ingredients, so you can skip the artificial preservatives and additives often found in store-bought loaves. Plus, you can adjust the sugar, salt, or fat content to suit your dietary preferences.
4. Customizable to Your Taste
One of the best parts of making bread at home is the ability to personalize it. Want a hint of garlic? Add minced garlic and herbs to the dough. Prefer a nutty crunch? Sprinkle sesame or poppy seeds on top. The versatility of this recipe allows you to experiment and tailor the bread to your liking.
5. Fresh Bread Anytime
Few things are more satisfying than the aroma of freshly baked bread wafting through your kitchen. By making this recipe, you’ll enjoy the unbeatable freshness of homemade bread straight from the oven. You can also bake extra loaves and freeze them for future use, ensuring you always have fresh bread on hand.
6. Pairs with a Variety of Meals
While perfect for sandwiches, this bread isn’t limited to subs. It makes a fantastic side for soups, stews, and pasta dishes. Its soft texture is also ideal for garlic bread, French toast, or even bread pudding.
7. Impress Friends and Family
There’s something truly impressive about serving homemade bread. Whether you’re hosting a dinner party or preparing a casual family meal, this artisan Italian bread will elevate the occasion. Your guests will be amazed that you made it from scratch.
8. Budget-Friendly
Making your own bread is far more economical than buying it from the store or a bakery. With simple, inexpensive ingredients that you likely already have in your pantry, you can whip up multiple loaves at a fraction of the cost.
9. Fun and Therapeutic Process
Kneading dough and shaping loaves can be a relaxing, meditative experience. Bread-making is an enjoyable process that allows you to slow down and connect with the art of baking. The sense of accomplishment when your loaves come out of the oven golden and fragrant is deeply rewarding.
10. A Recipe You’ll Want to Repeat
Once you try this recipe, it’s bound to become a staple in your home. The combination of ease, flavor, and versatility will have you making it again and again, whether for meal prep, special occasions, or simply to satisfy your craving for delicious homemade bread.
Ingredients
1. All-Purpose Flour
A staple in most kitchens, all-purpose flour forms the foundation of this bread. It provides structure and softness, balancing out the bread flour for a light and fluffy texture.
2. Bread Flour
Bread flour has a higher protein content than all-purpose flour, which gives the bread its signature chewiness and helps create a sturdy yet tender crumb that holds up well to hearty sandwich fillings.
3. Sugar
A small amount of sugar is used to activate the yeast and add a touch of sweetness. This enhances the flavor of the bread without making it overly sweet, making it versatile for both savory and mildly sweet fillings.
4. Salt
Salt is essential for flavor and also helps to control the yeast activity during the rise. It enhances the overall taste of the bread and brings out the subtle nuances of the other ingredients.
5. Active Dry Yeast
The key to a perfectly risen bread, active dry yeast is what makes the dough light and airy. This recipe relies on yeast to achieve that soft, pillowy interior and slightly crisp crust.
6. Warm Water
Warm water is crucial for activating the yeast. The ideal temperature is around 110°F (43°C)—warm enough to awaken the yeast but not so hot that it kills it.
7. Olive Oil or Vegetable Oil
Oil adds richness and helps keep the bread soft and moist. Olive oil imparts a subtle flavor, while vegetable oil offers a neutral alternative for those who prefer less pronounced notes.
8. Optional Toppings
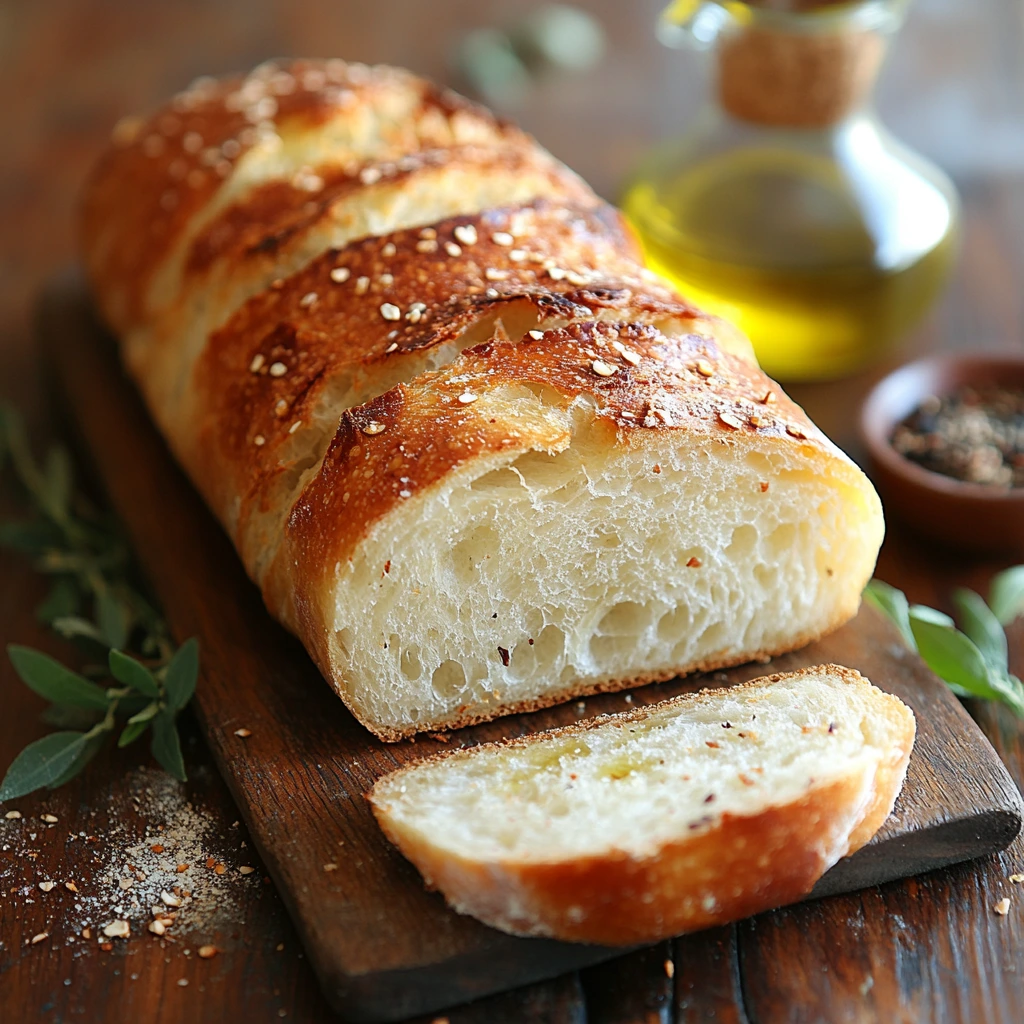
To give your bread a personalized touch, optional toppings like sesame seeds, poppy seeds, or dried herbs can be sprinkled on before baking. These toppings add texture, flavor, and visual appeal, elevating your homemade bread to a professional-looking loaf.
Each of these ingredients plays a vital role in achieving the perfect Subway-style Artisan Italian bread. Together, they create a loaf that is soft, flavorful, and adaptable to your preferences.
Directions
1. Activate the Yeast
Begin by dissolving sugar in warm water in a large mixing bowl. This provides food for the yeast, helping it activate. Sprinkle the active dry yeast over the water and let it sit for 5-10 minutes. When the mixture turns foamy, it’s ready to use. If there’s no foam, the yeast may be inactive, and you’ll need to start over with fresh yeast.
2. Mix the Dough
Add olive oil and salt to the activated yeast mixture. Stir to combine. Gradually incorporate a portion of the all-purpose flour, mixing with a wooden spoon or a stand mixer fitted with a dough hook. Slowly add the bread flour, continuing to mix until a sticky dough forms.
3. Knead the Dough
Knead the dough on a lightly floured surface or in the stand mixer for 8-10 minutes by hand (or 6-8 minutes in the mixer). The dough should be smooth, elastic, and only slightly tacky. This step develops the gluten, which gives the bread its structure and chewiness.
4. First Rise
Transfer the kneaded dough to a lightly oiled bowl. Turn the dough once to coat it in oil, which prevents drying out during the rise. Cover the bowl with a clean kitchen towel or plastic wrap and place it in a warm, draft-free area. Allow the dough to rise for 1 to 1.5 hours, or until it has doubled in size.
5. Punch Down and Shape
After the first rise, punch down the dough to release the trapped air. Divide the dough into equal portions, depending on how many loaves you want (6-8 loaves for sandwich-sized bread). Roll each portion into a long, oval shape, roughly 10-12 inches in length, and place them on a parchment-lined baking sheet.
6. Second Rise
Cover the shaped loaves with a kitchen towel and let them rise for 30-40 minutes. During this time, the loaves will puff up slightly, giving them a light texture once baked.
7. Preheat the Oven
Preheat your oven to 375°F (190°C) while the loaves complete their second rise. For a crispier crust, place a shallow pan of water on the bottom rack of the oven to create steam. This step is optional but adds a professional touch to the final product.
8. Prepare the Loaves for Baking
Before placing the loaves in the oven, brush the tops with water or an egg wash. This step helps achieve a golden, shiny crust. Sprinkle with optional toppings like sesame seeds, poppy seeds, or dried herbs if desired.
9. Bake the Bread
Bake the loaves in the preheated oven for 15-18 minutes, or until they turn golden brown. The loaves should sound hollow when tapped on the bottom, indicating they are fully baked.
10. Cool and Serve
Allow the bread to cool on a wire rack for at least 10-15 minutes before slicing. Cooling helps the bread set, making it easier to cut and enhancing its flavor. Serve with your favorite sandwich fillings or alongside soups and salads.
By following these steps, you’ll achieve perfectly baked artisan Italian bread that rivals any store-bought loaf.
Variations
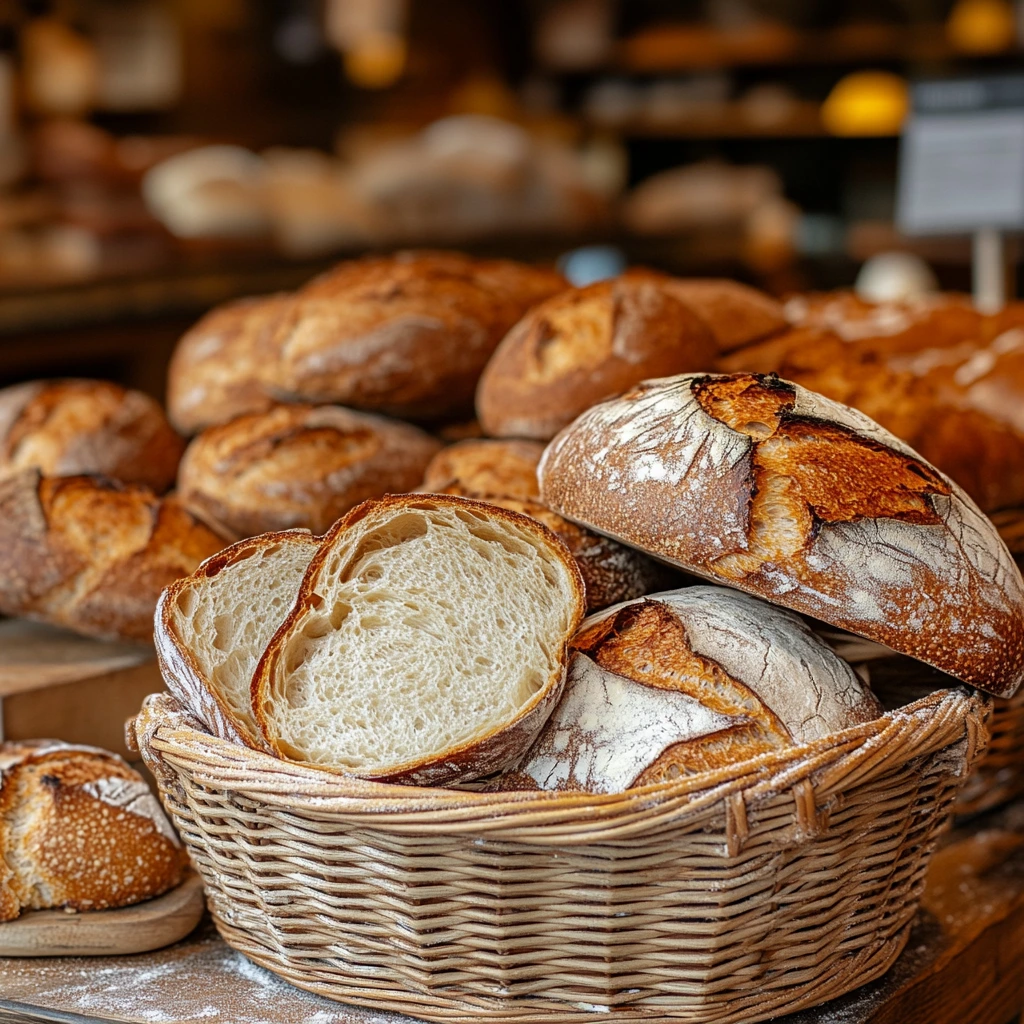
1. Whole Wheat Artisan Bread
To begin with, for a healthier twist, you can substitute up to half of the all-purpose flour with whole wheat flour. Not only does this variation provide a heartier texture, but it also adds extra fiber and nutrients to your bread. As a result, whole wheat bread pairs beautifully with fresh veggies, lean proteins, and bold spreads like hummus. For more tips on baking with whole wheat flour, be sure to check out this whole wheat bread guide.
2. Garlic and Herb Bread
Similarly, you can infuse the dough with fresh or dried herbs such as rosemary, thyme, or oregano, along with minced garlic. Consequently, this savory variation enhances the bread’s flavor, making it an excellent choice for Italian-style sandwiches or as a flavorful side for soups and pasta dishes. To learn more about incorporating fresh herbs into bread, explore this herb bread recipe.
3. Cheese-Topped Loaf
For a cheesy crust, sprinkle shredded Parmesan, mozzarella, or cheddar cheese on top of the loaves just before baking. This variation creates a flavorful, golden crust that’s perfect for grilled cheese sandwiches or hearty meatball subs. For inspiration, explore this cheese bread recipe.
4. Gluten-Free Version
For those with gluten sensitivities, replace the regular flour with a gluten-free all-purpose flour blend that includes xanthan gum for structure. This ensures the bread remains soft and chewy. You may need to adjust the liquid content slightly for optimal dough consistency. Check out this comprehensive gluten-free bread baking guide.
5. Seeded Artisan Bread
Boost the bread’s nutritional profile by adding seeds like sunflower seeds, chia seeds, or flaxseeds to the dough. You can also sprinkle seeds on top for added crunch and visual appeal. This variation is ideal for those who love texture in their bread. For more seed bread ideas, see this multigrain seed bread recipe.
6. Sweet Honey Bread
For a slightly sweeter loaf, replace the sugar in the recipe with honey or add a few tablespoons of honey to the dough. This variation works well for breakfast sandwiches or as a base for peanut butter and jam. Get more insights on making sweet bread from this honey bread recipe.
7. Spicy Jalapeño and Cheese Bread
Add diced jalapeños and shredded cheddar or pepper jack cheese to the dough for a spicy kick. This flavorful bread pairs wonderfully with BBQ meats, chili, or Southwestern-style sandwiches. Check out this jalapeño cheddar bread recipe.
8. Olive and Sundried Tomato Loaf
Incorporate chopped olives and sun-dried tomatoes into the dough for a Mediterranean-inspired loaf. This variation is perfect for antipasto platters or as a base for savory paninis. For a similar recipe, try this Mediterranean olive bread.
9. Cinnamon Raisin Bread
Turn this artisan bread into a sweet treat by adding cinnamon and raisins to the dough. This variation is ideal for breakfast or a light snack and pairs well with cream cheese or butter. For guidance, see this cinnamon raisin bread recipe.
10. Vegan Artisan Bread
Make a vegan version by ensuring all ingredients are plant-based. Replace the egg wash with a mixture of plant-based milk and a touch of maple syrup for a golden crust. This variation works well for vegans or those with egg allergies. For tips, visit this vegan bread recipe.
These variations allow you to customize the bread to suit your dietary preferences and flavor preferences. Experiment with these ideas to find your favorite combination, and check out the linked recipes for further inspiration and techniques!
Servings and Timing
1. Prep Time
The preparation process for this artisan Italian bread takes approximately 20 minutes. This includes mixing the ingredients, kneading the dough, and shaping the loaves. If you’re new to bread-making, allow for a bit of extra time to familiarize yourself with the process.
2. Rise Time
Bread dough requires time to rise and develop its structure and flavor. The total rise time for this recipe is 1.5 to 2 hours, divided into two stages:
- First Rise: 1 to 1.5 hours
- Second Rise: 30-40 minutes
Be sure to let the dough double in size during each rise for the best texture and volume.
3. Cook Time
The loaves bake quickly, taking only 15-18 minutes in a preheated oven at 375°F (190°C). Keep an eye on the bread during the last few minutes to ensure it reaches a golden-brown color without overbaking.
4. Total Time
From start to finish, the entire bread-making process takes approximately 2.5 hours. This includes active preparation, rising, and baking time, making it a manageable recipe even for busy days.
5. Serving Size
This recipe yields 6 to 8 sandwich-sized loaves, depending on how you divide the dough and shape the loaves. Each loaf is the perfect size for a hearty sub sandwich, making it ideal for family meals, gatherings, or meal prep.
By planning your time effectively and following the outlined steps, you’ll achieve perfectly baked artisan Italian bread within just a few hours, ready to elevate any sandwich or meal.
Storage/Reheating
1. Storing at Room Temperature
Once the bread has cooled completely, store it in an airtight container or a resealable plastic bag to keep it fresh. At room temperature, the bread will stay soft and flavorful for up to 3 days. Avoid storing bread in the refrigerator, as it can dry out and lose its soft texture.
2. Freezing the Bread
For longer storage, wrap the bread tightly in plastic wrap, followed by a layer of aluminum foil to prevent freezer burn. Place the wrapped loaves in a freezer-safe bag or container. Frozen bread can be stored for up to 2 months. When ready to use, let the bread thaw at room temperature before reheating.
3. Reheating Whole Loaves
To revive the fresh-baked texture of whole loaves, preheat your oven to 350°F (175°C). Place the bread on a baking sheet and heat for 5-7 minutes. This method restores the crust’s crispness while keeping the interior soft and fluffy.
4. Reheating Slices
If you’re reheating individual slices, a toaster works well to quickly warm and crisp the bread. For a softer texture, wrap the slices in aluminum foil and warm them in the oven at 300°F (150°C) for 3-5 minutes.
5. Microwaving for Quick Reheating
For a quick reheating option, wrap a slice of bread in a damp paper towel and microwave it on low power for 10-15 seconds. This method helps retain moisture but should be used sparingly, as microwaving can make the bread chewy if overdone.
6. Refreshing Stale Bread
If the bread begins to lose its freshness, sprinkle it lightly with water and place it in a preheated 350°F (175°C) oven for 5-8 minutes. This simple trick revives the crust and softens the interior, making the bread taste freshly baked again.
By following these storage and reheating tips, you can enjoy your homemade artisan Italian bread for days or even weeks, with minimal loss of quality or flavor.
FAQs
- Can I use instant yeast instead of active dry yeast?
Yes, you can substitute instant yeast for active dry yeast in this recipe. Instant yeast doesn’t require proofing, so you can mix it directly with the dry ingredients. Adjust the quantity slightly—use about 25% less instant yeast. For more tips on using instant yeast, check out this guide to yeast types. King Arthur Baking - Why is my bread not rising?
If your bread isn’t rising, it could be due to inactive yeast, incorrect water temperature, or a cold environment. Ensure your water is around 110°F (43°C) to activate the yeast, and place the dough in a warm, draft-free area for rising. For troubleshooting yeast issues, refer to this bread troubleshooting guide. King Arthur Baking - How can I make the crust softer?
To achieve a softer crust, brush the loaves with melted butter immediately after baking. This helps retain moisture in the crust. For more techniques on crust adjustments, check out this soft bread crust tutorial. Bread By The Hour - How do I know when the bread is fully baked?
Fully baked bread should have a golden-brown crust and sound hollow when tapped on the bottom. If you’re unsure, use a food thermometer—the internal temperature should read around 190-200°F (88-93°C). For more tips, visit this bread baking temperature guide. Chainbaker - Can I let the dough rise overnight?
Yes, you can refrigerate the dough for an overnight rise. This allows the flavors to develop more deeply. Be sure to bring the dough to room temperature before shaping and baking. For a step-by-step process, read this overnight bread recipe guide. Gimme Some Oven
This Artisan Italian Bread recipe brings the beloved flavors and textures of Subway right to your kitchen. Its soft, fluffy interior and light crust make it an ideal canvas for any sandwich creation. Whether you’re hosting a family dinner, preparing for a picnic, or simply craving a homemade sub, this recipe is sure to impress. Give it a try and elevate your sandwich game to a whole new level! for more recipes click here

